 Let a drywall contractor give you an estimate on your project

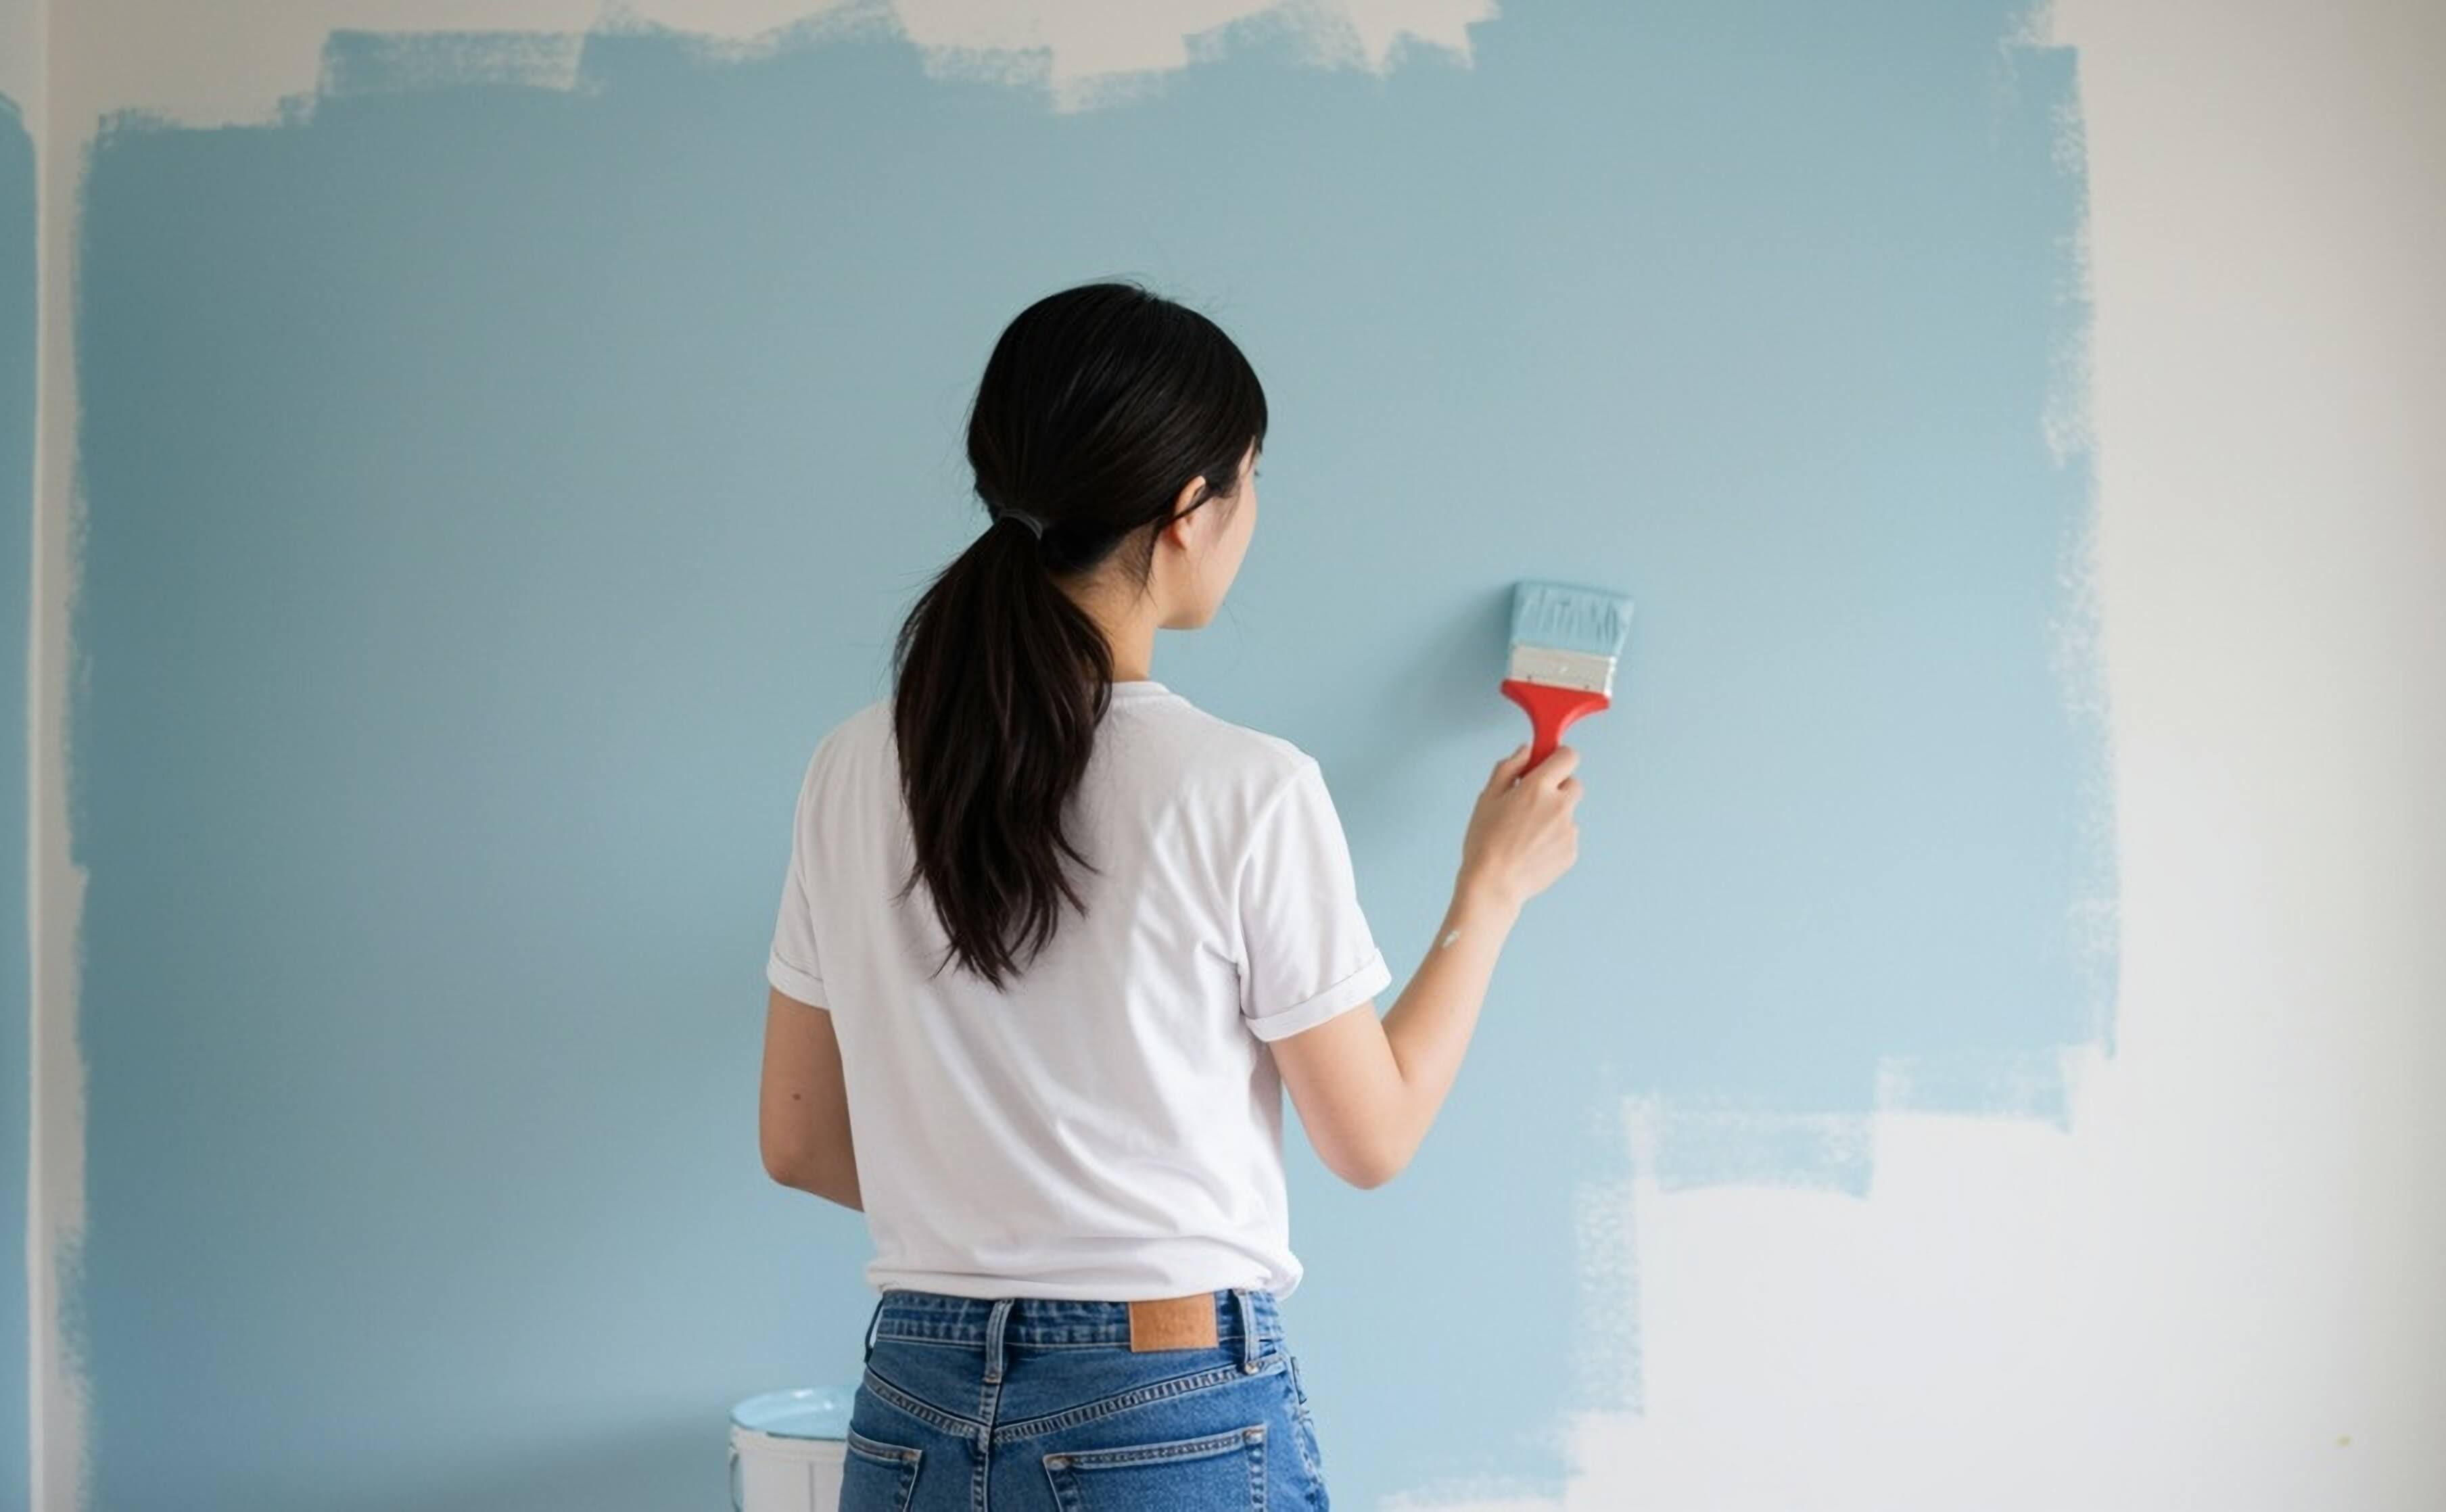
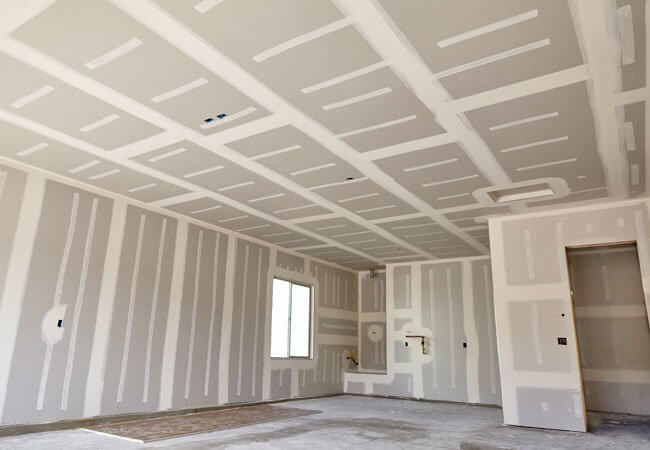
Drywall has become one of the most popular materials used to build interior walls. Drywall is flexible, can be installed easily, and it will give you service for a very long time. However, despite its durability, drywall is not 100% foolproof. Sometimes you may need to patch up a few holes here and there to make it look as good as new. Well, in this article, we have a few ideas that may help you repair your drywall.
Materials and Tools
Many projects at home require special tools and materials. When repairing drywall, the tools you will need are:
- Drill
- Utility knife
- Drywall saw
- Scissors
- Joint knife
- Dust mask to protect yourself.
As for the materials, you’ll need:
- Construction adhesive
- Drywall tape
- Masking tape
- Sanding sponge
- Drywall patch kit
- Joint compound
- Drywall screen
Damages on the drywall will often vary. In that case, the approach you take in the repair process must be based on the issue you have.
Next we’ll cover some of the common drywall problems and how you can fix them.
Small Dents and Dings
Start by scraping away the loose debris around the area that will be repaired. Use fast drying spackle to cover the hole or dent. Make sure the sparkle is level with the drywall surface and give it at least 24 hours to dry. Once the sparkle is dry use a sandpaper to smooth it out and paint once you’re done.
Popped Nail Heads
Popped nail heads are also quite common drywall issues. The nails pop out when they become detached to the studs. To fix a popped out nail, start by driving a one and a half inch screw above the popped nail. Find the stud and reattach it to the drywall. Make sure the screw head is sunk just below the surface of the drywall. Cover the working area with sparkle, let it dry for 24 hours and sand the area for the best look. You can also use a hammer.
Small Holes
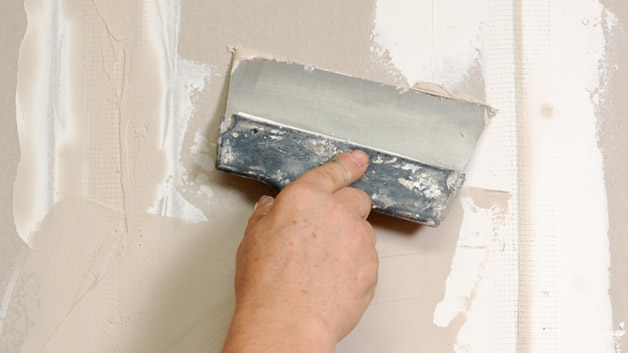
Small holes are much easier to fix but you will need a drywall patching kit for this. Start by placing the construction adhesive mesh patch over the hole. Cover the patch with some lightweight joint compound. Do it in a crisscross pattern. Feather the edges too once you’re done. Apply some pressure on the compound to thin it out. Once you’re done, give the patch some time to dry and proceed to apply a second coat of compound. Once the second coat is dry you can then sand the entire thing for the perfect finish.
Medium Holes
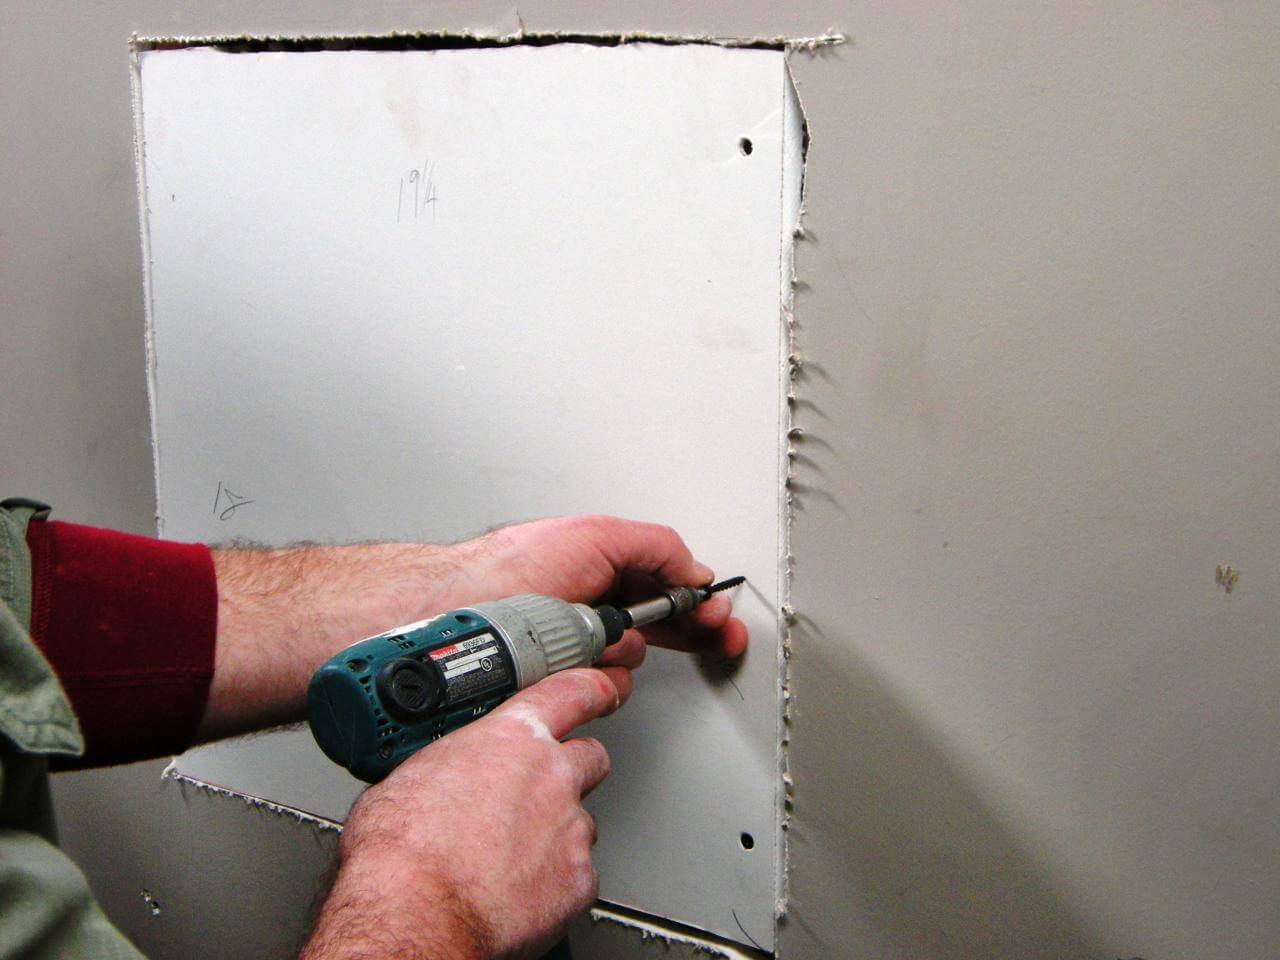
Find a piece of drywall and cut it into a square shape. Mostly, the drywall should measure at least 2 inches larger than the hole. Use a box cutter to score the back of the drywall. You can also use a knife for this. Remove the gypsum carefully without damaging the paper backing. Now hold the drywall patch over the hole and then cut out the excess drywall using a knife.
Once the drywall is cut into the right size, go ahead and apply some joint compound on the area to be fixed and on the back of the paper border on the drywall. Fit the gypsum into the hole and then press the drywall on it. Apply some pressure until the piece holds. Finally, cover the entire patch with an additional joint compound. Make sure you’ve feathered the edges. Apply two coats of compound and let it dry for 24 hours. Sand the area until you get the best finish.
Repairing drywall is not a hard job and the process you decide to take will depend on the kind of damage you’re dealing with.
Need to get your drywall repaired? Call today to get a free estimate!