 Let a roofer give you an estimate on your project

Get your shingle roof repair done with these tips: start with safety, gather your equipment, inspect the damaged shingles, remove the cracked or broken ones, replace them, seal them, and pay attention to any possibility of leaks.
Every part of the house needs repair once in a while. The roof is no exception, but to repair roof shingles blown off by the wind, you need to be safe and know what you are doing. It will cost almost nothing if done properly and save you some time. Learn how to do it here!
How To Repair Roof Shingles?
Repairing missing shingles on your roof is a pretty straightforward process, but it requires proper safety, tools, knowledge, and preparation. Start by being safe and prepared, then check the needed repairs, replace the shingles, and watch for future leaks.
Find out the details below!
1. Start With Safety
Your first concern must be your safety measures, as you will be on the roof of your house, several feet from the ground.
Be sure your ladder is sturdy, as well as the place you will lean it to climb. Use a hard hat all the time. A utility belt will also help, as you will have your hand free from holding tools you are not using.
2. Gather Your Equipment
To repair or replace roof shingles, you will need some equipment apart from the safety ones already discussed above, but nothing much more than usual. They are:
- hammer and nails or a nail gun;
- prybar;
- measuring tape;
- roof cement; and
- a utility knife.
If you are dealing with a lot of damage, more tools may be needed, but these items will be enough for a quick shingle roof leak repair.
3. Inspect The Damaged Shingles
Now, you can climb your house and check for missing or loose shingles. Find out how many you need and how big they are. Cut the replacements properly when you are safe on the ground and then bring them back with you on your next climb.
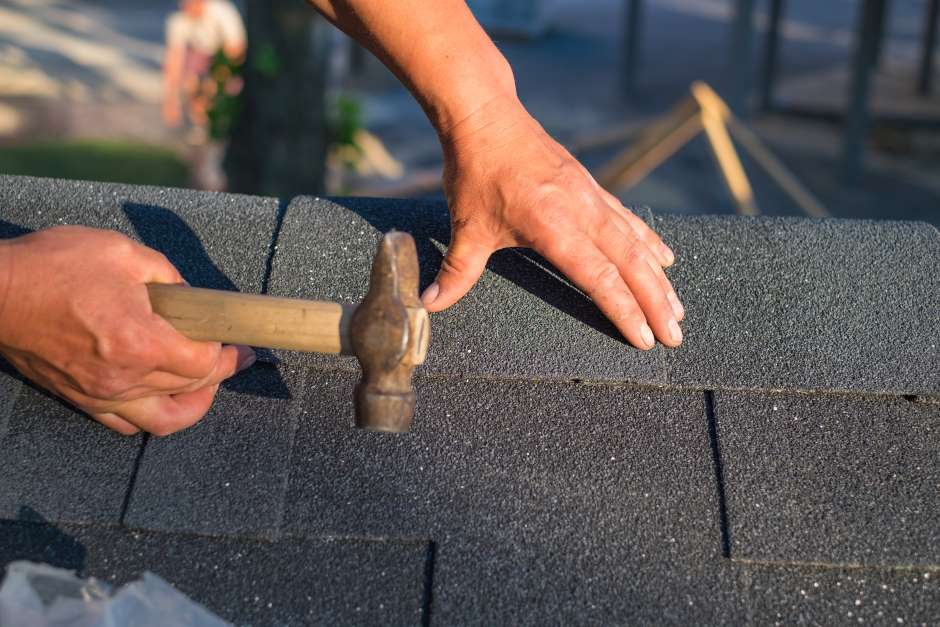
4. Remove And Replace
To remove damaged shingles, use your prybar and start loosening them. When possible, use the hammer to remove the nails and fix them on the roof and adjacent shingles. Now, replace it with your pre-cut shingle. Check the fit and make small adjustments if needed. Once it is set in place, nail everything back.
5. Seal It
A proper asphalt shingle roof repair must be sealed to prevent water leaks, which is done by applying a layer of roofing cement underneath the new shingle. You will probably notice the old cement underneath when the old one is removed. Scrape it and then reply. Also, be sure to apply a little pressure on the shingle to help seal it.
6. Pay Attention To Leaks
If you follow the steps properly, the chances of having leaks are close to zero. But it is better to be safe than sorry, right? So, during the next rainy days, check for any possible leaks of moisture forming to ensure you have nailed this task.
Now, if you don't consider yourself the handiest person or getting on the roof is not a walk in the park for you, the best course of action for shingle roof repair is to get a free quote from our roofing experts!