It’s that time of year again! Leaf removal time is here, and one of the best ways to protect and preserve your home is rain gutter cleaning! Gutter cleaning can be a hassle, but a necessary chore. In fact, proper care and maintenance is required to ensure lasting longevity and if ignored for a long enough time, your clogged gutters could result in mold, mildew, allergies, and even wood rot. Severely clogged drains could even threaten the structure of your home! And unfortunately, this situation can even be a perfect breeding ground for termites. But fear not, here are the six simple steps to ensure your home stays comfortable and safe through the wet days of fall and winter!
How often should I clean my gutters?
WIth some exceptions, bi-annually would be ideal. Once in the spring and again in the fall. Although depending on your tree cover, canopy, and type of trees, cleaning times may vary. A good indication would be the amount of deciduous trees (oak, maple, hickory, to name a few) in your area, and how many leaves you’re raking off the ground.
Safety First
For the most part, you would never want to begin cleaning while hanging over the side on top of your roof. Unless you have a flat top roof, be sure to use a ladder. Be sure to educate yourself on proper ladder safety (i.e. steer clear of power lines, and to make sure the top of the ladder extends beyond your roof), and never reach out so much that you could potentially lose your balance! Safety or gardening gloves are also a must.
First Steps
The very first thing you’ll want to tackle is debris removal. Be sure to clear out all loose leaves, pine needles, twigs, and moldy patches. In damp conditions, it may be best to lay down a tarp first. Simple scoop out the contents into a yard refuse bag. Be careful not to let the bag get too heavy, it could throw off your balance! Dry conditions are slightly easier as you can tie the bag to your ladder to help decrease the amount of times up and down the ladder.
What tools do I use?
An economic go-to is a plastic jug shovel. Simply take an ordinary milk jug, clean it, and slice it around the top of the handle. Instant homemade shovel! You can also purchase a hard plastic “gutter scooper” from any hardware store, use a trowel, or even a cooking spatula you are no longer attached to.
Purging the Downspouts
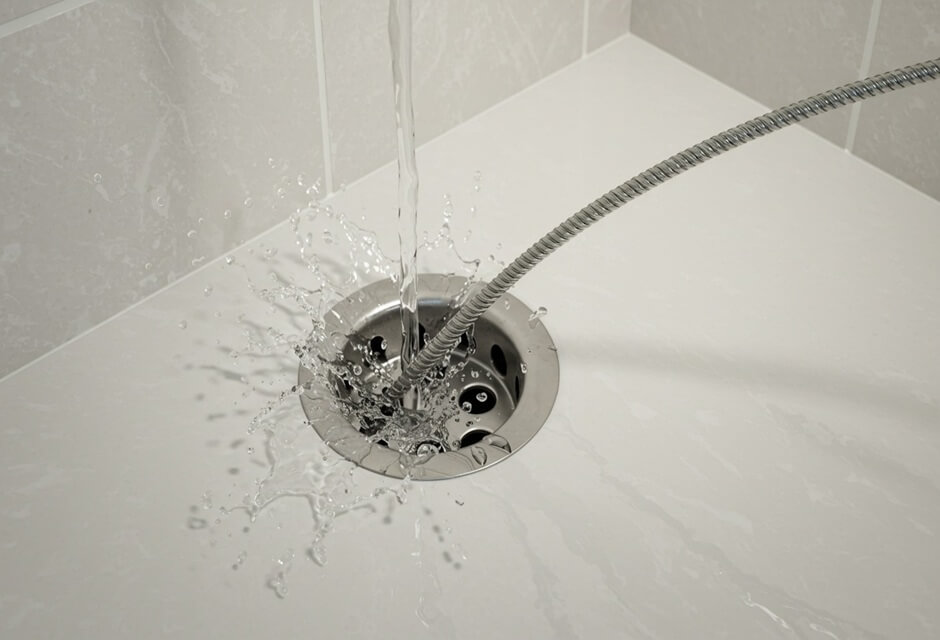
At this point you’ll want to clean the downspouts before you actually clear the gutters themselves. Use a garden hose to flush the pipes from the top down, making sure to use as much water pressure as possible, as you are looking to break through clogs. A big help in many cases is to pack a rag or old shirt along the nozzle to form an airtight dam. If blockage occurs, another helpful tool is a plumbing snake. Take the snake and feed it along the pipe until it hits the clog. If all these methods fail, you may have to remove it manually.
Rinse and Repair
Now that you’ve cleared the debris and washed the downspouts, it’s time to rinse out everything! Take your hose to the furthest location away from the downspout. Allow a few moments of water flowing before moving on to the next downspout, and the next, and so on. If everything rinses and drains you’re literally in the clear! If not identify all gutter leaks and clogs for repairs and further cleaning.
 Let a gutter installer give you an estimate on your project


 Member of the