 Let a painter give you an estimate on your project

Knowing how to use paint thinner is valuable for anyone working with oil-based paints, varnishes, or stains. To apply it, you must work in a well-ventilated area, wear protective gear, dilute the paint with the thinner, apply it, and clean up spills.
Whether you are an experienced painter or a DIY enthusiast, understanding how to use paint thinner properly can help you achieve a clean, professional finish. This guide explores the uses of paint thinner and offers instructions on how to apply it and clean your brushes effectively.
What Does Paint Thinner Do?
Paint thinner is a solvent designed to dilute oil-based paints and other finishes like varnish and stains. It helps adjust the consistency of the paint, making it easier to apply and spread evenly. Paint thinner is also crucial in cleaning up tools and surfaces after painting, ensuring that brushes, rollers, and other equipment can be reused for future projects. It is often used to clean spills, remove sticky paint, and reduce the thickness of the paint for smooth application.
Does Paint Thinner Remove Paint?
Yes, paint thinner can be used to remove paint, but it works primarily on fresh, wet paint rather than dried or cured coatings. When paint is still wet, paint thinner can effectively dissolve it, making it easier to wipe away from surfaces like brushes, tools, and even small spots on floors or furniture. However, paint thinner for removing paint may not be powerful enough to remove completely dried paint—stripping agents are often a better option for that.
How To Apply Paint Thinner In 5 Basic Steps
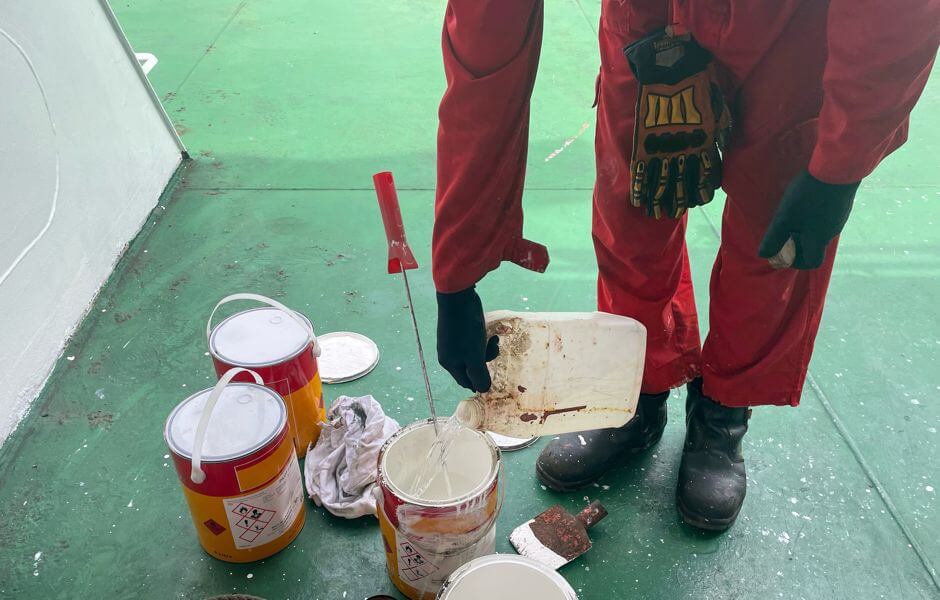
When using paint thinner, handling it with care and following proper safety precautions is essential. Here are the steps to apply paint thinner effectively: work in a well-ventilated area, wear protective gear, dilute the paint with the thinner, apply it, and clean up spills. Read the detailed instructions in the list below!
- Ensure that the room or space has good airflow. Open windows or use fans to avoid inhaling fumes.
- Use gloves, goggles, and a mask to protect your skin, eyes, and respiratory system from the strong chemicals.
- To thin oil-based paint, pour a small amount of paint thinner into the paint. Stir the mixture thoroughly until you reach the desired consistency. Be careful not to over-thin the paint, as this can affect its performance and finish.
- Once thinned, apply the paint as usual using a brush or roller. The thinner consistency will help create a smoother, more even coat.
- If you spill paint or want to clean paint off a surface, apply a small amount of paint thinner to a cloth and gently wipe the affected area.
Another common use for paint thinner is to clean brushes, as the thinner can remove paint. Read the following section to understand how to do it.
How To Clean Paint Brush With Paint Thinner? 5 Tips
Cleaning oil-based paint from brushes will guarantee their longevity and quality, especially if you follow the steps to clean your brushes with paint thinner listed below. :
- Use a small container to hold enough paint thinner to submerge the bristles of the brush fully.
- Place the brush into the container and gently swirl it around to help loosen the paint from the bristles.
- After removing the paint, remove the brush from the thinner, wipe it with a clean rag, and then repeat the soaking process with fresh paint thinner if necessary.
- After removing any remaining chemicals, wash the brush with paint thinner in warm, soapy water. Rinse thoroughly and reshape the bristles before letting the brush dry.
- Do not pour paint thinner down the drain. Store it in a sealed container, and check with your local waste disposal center for proper disposal methods.
Now that you know how to use paint thinner at home, consider calling Wisercosts painting pros to make sure the result of your painting project is precisely what you expected it to be.
You may also like to read:
How Long Do Furnaces Last? + 7 Signs To Replace It
Reasons And Solutions For A Toilet Not Flushing
Crown Molding Ideas To Elevate Your Home's Style