Many homeowners get to the point of their home maintenance when they need to learn how to clean water softeners. To do it right, turn off the water softener, empty the tank, remove salt bridges and residue, clean the brine tank, rinse, add fresh salt and water, and restart it.
Cleaning water softeners guarantees effective functioning, extending their lifespan and maintaining high water quality. Proper cleaning also prevents salt bridges, mineral buildup, and other issues that could compromise the system. Discover how to flush a water softener with the steps listed in this complete guide!
How To Clean A Water Softener Tank? 11 Practical Steps
Cleaning the water softener tank is a straightforward process, typically involving a few basic steps: turn off the water softener, empty the tank, remove salt bridges and residue, clean the brine tank, rinse, add fresh salt and water, and restart it. Read below to learn the details.
1. Turn Off The Water Softener
Begin by turning off the water softener unit to prevent water flow during cleaning. Locate the bypass valve, usually found at the top or side of the unit, and switch it to the "bypass" position. It redirects water away from the system so you can safely work on it without interference.
2. Empty The Tank
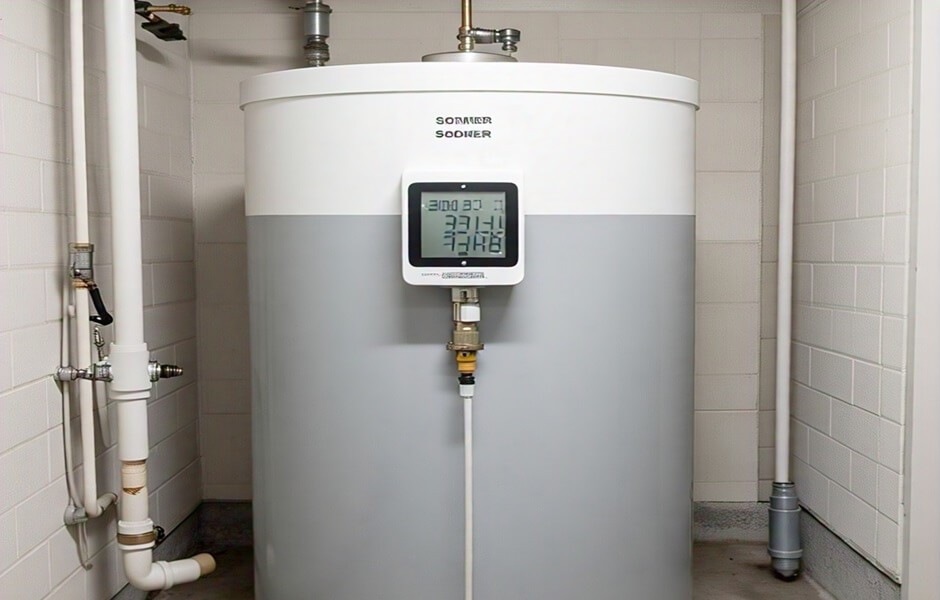
Remove the brine tank lid (the tank that holds salt and water) and look inside. Use a small shovel or scoop to remove any remaining salt crystals. If water is at the bottom, pour it out or use a wet-dry vacuum to remove any remaining liquid.
3. Break Up Salt Bridges
A "salt bridge" is a hard crust that can form at the surface of the salt, preventing it from dissolving into the water and stopping the system from regenerating effectively. Use a broom handle, long spoon, or similar tool to carefully break up any salt bridges or hardened clumps.
4. Remove Any Residual Sediment
If there is a buildup of sediment or debris at the bottom of the tank, clear it out with a scoop or vacuum. Sediment can accumulate over time from impurities in the salt or minerals in your water, so removing it helps prevent clogging and reduces strain on the system.
5. Prepare A Cleaning Solution
In a separate bucket, mix warm water with a few drops of mild dish soap to create a soapy solution. Avoid harsh detergents or abrasive cleaners, as these can damage the tank or interfere with the water-softening process.
6. Scrub The Interior Of The Tank
Pour the soapy solution into the brine tank, then use a sponge or soft brush to scrub the sides and bottom of the tank thoroughly. Focus on areas with visible buildup or grime, making sure all surfaces are cleaned. This step removes residual salt dust, mineral deposits, and other debris.
7. Rinse The Tank Thoroughly
After scrubbing, pour out the soapy water and rinse the tank with fresh water several times for all the soap residue to be gone. Any remaining soap can interfere with the water-softening process or cause unwanted odors, so make sure the tank is completely rinsed clean.
8. Sanitize
If you have not disinfected the water softener tank, consider doing so to remove any lingering bacteria. Fill the tank with about 1–2 gallons of water and add a small amount of unscented household bleach (about one tablespoon per gallon). Let it sit for 15 minutes, then empty the tank and rinse it thoroughly with fresh water to remove any bleach residue.
9. Add Fresh Salt
After cleaning and rinsing, refill the brine tank with fresh salt. Use a high-quality salt recommended for your water softener, such as evaporated or solar salt. Avoid adding too much at once; follow the manufacturer's recommendations to about two-thirds full.
10. Add Water To The Tank
Pour a few gallons of clean water into the brine tank, following the manufacturer's instructions on the water level. The water will dissolve the salt and prepare the brine solution needed for the next regeneration cycle.
11. Restart The Water Softener
Finally, switch the bypass valve back to its normal position to resume the water flow through the softener. Plug in the water softener and start a manual regeneration cycle (consult the user manual for specific instructions). This cycle will flush out any remaining impurities, unclogging the water softener system back to optimal performance.
How Much Does It Cost To Clean A Water Softener?
If you are comfortable handling the cleaning yourself, it is a relatively inexpensive task. The only costs are for supplies, like mild dish soap and possibly a soft brush. DIY cleaning typically costs around $10–$20.
Professional cleaning services usually cost between $50 and $150, depending on the system size, the complexity of the cleaning required, and your location.
Hiring a Wisercosts plumbing professional to clean your water softener tank can provide a thorough inspection and service, guaranteeing all components function correctly. Do not hesitate to call them.
You may also like to read:
Causes And Solutions For A Noisy Ceiling Fan
How To Clean A Couch: An Easy Guide For New Homeowners
How Long Do Furnaces Last? + 7 Signs To Replace It
 Let a plumber give you an estimate on your project


 Member of the