 Let a cabinet installer give you an estimate on your project


Replacing kitchen cabinets and installing new sets is a skill that an average homeowner should possess. If you have the right tools and the proper foresight to do this, it is very possible to achieve a professional look when it comes to having new kitchen cabinets installed.
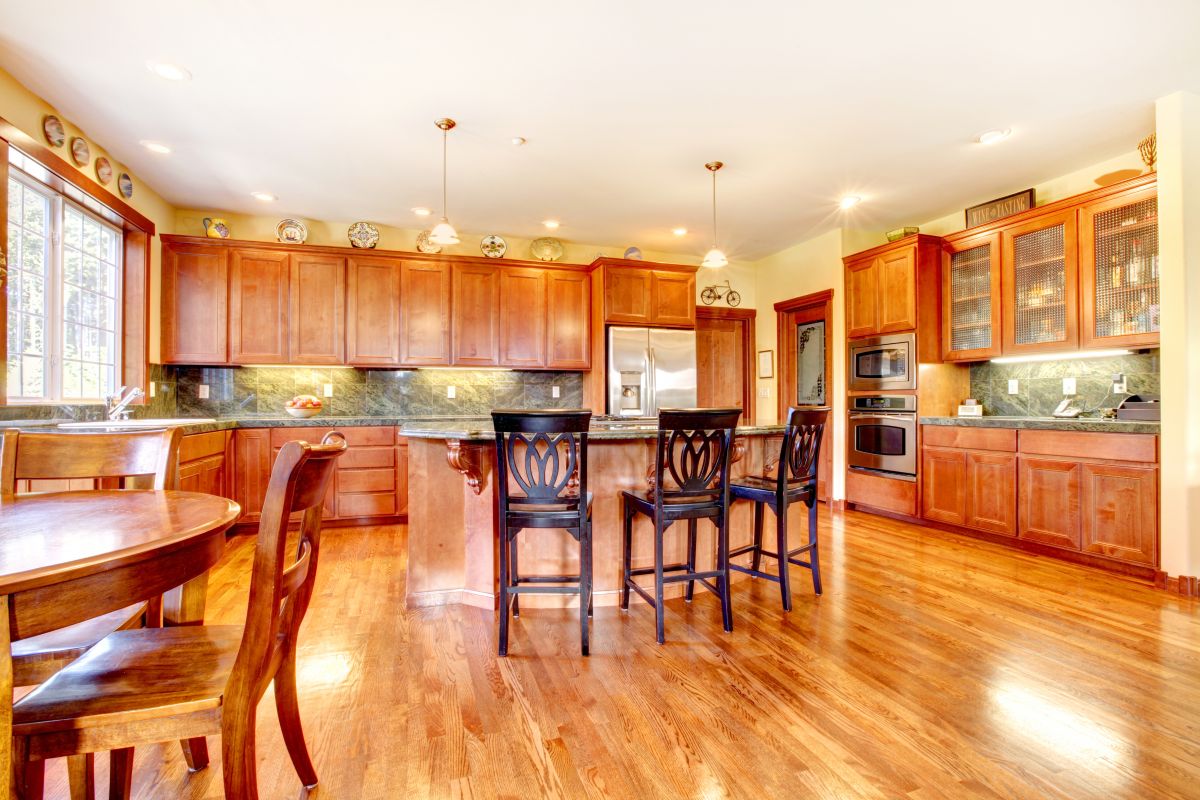
One of the easiest cabinets to install is the pre-finished and pre-assembled kitchen cabinet types that are available in your local home improvement store, especially the large ones. There are stock sizes available and you can pick them up, go home and install them right away. There are also kitchen cabinets that are unfinished which you can later on paint and stain to create the desired look you want for your kitchen.
So now that you have an idea of what kind of kitchen cabinet you would like to replace your old one with, it’s time to start removing the old cabinets. When done, take measurements carefully. If you want to adapt the same layout for the new cabinets, you can the purchase the same size as the old one. Also, get a stud finder, a few pieces of 2×4 pieces of wood and a level.
If the layout you want calls for a lower and upper kitchen cabinets, then it would be best to install the upper cabinets first as it will be easier for you to do with the lower level still free from any obstructions. Then get your stud finder and use it to locate the studs in the wall, which are typically 16 inches apart. Get a pencil and use it to mark the locations.
Next step is to look for a reference point for the cabinets. Typically, 20 inches of space is needed between the kitchen countertop and the bottom part of the upper cabinets. Measure that distance from the countertop or from the floor if you wish then mark the wall. Use your level and with your pencil, draw a line along the wall where you wish to place the bottom of the cabinets. Temporarily screw the 2×4 pieces of wood to the wall. Make sure that the top of the wood is where your level pencil line is. This piece of wood will also let you have a resting point as you hang the bottom cabinets. They also make sure that your cabinets are level. Please be advised that you should remove the doors of the cabinets to make installation much faster.
Furthermore, when installing cabinets, do the corner cabinets first. Put them up against the wall with the bottom ledge on the 2×4 then drill a screw into one of the studs. Cabinets are always attached to the studs so they can better support the weight of your dishes or whatever you intend to store inside your kitchen cabinets. However, don’t screw them so tightly since you still need to shim the cabinets later on. Just check to ensure that the sides are level and shim if only necessary.
Then install the next cabinet and make sure that the fronts are flush with each other. Adjust the shims in the cabinets to make them flush or even. Once this is accomplished, it’s time to screw the second cabinet into the wall studs and then to each other using longer screws. Clamp then together afterward.
Just do the same procedure with the subsequent cabinets. When every piece of cabinet is installed, tighten all the screws, remove the clamps, then attach the doors. The cabinets should be level with each other. It is then time to remove the 2×4 wood and to patch the holes made by the screw. Then attach your desired hardware for the cabinets.
Installation of kitchen cabinets can be done over the weekend. So start planning now and get a fabulous kitchen cabinet you’ve always wanted installed in your home.