 Let a bathroom remodeling contractor give you an estimate on your project


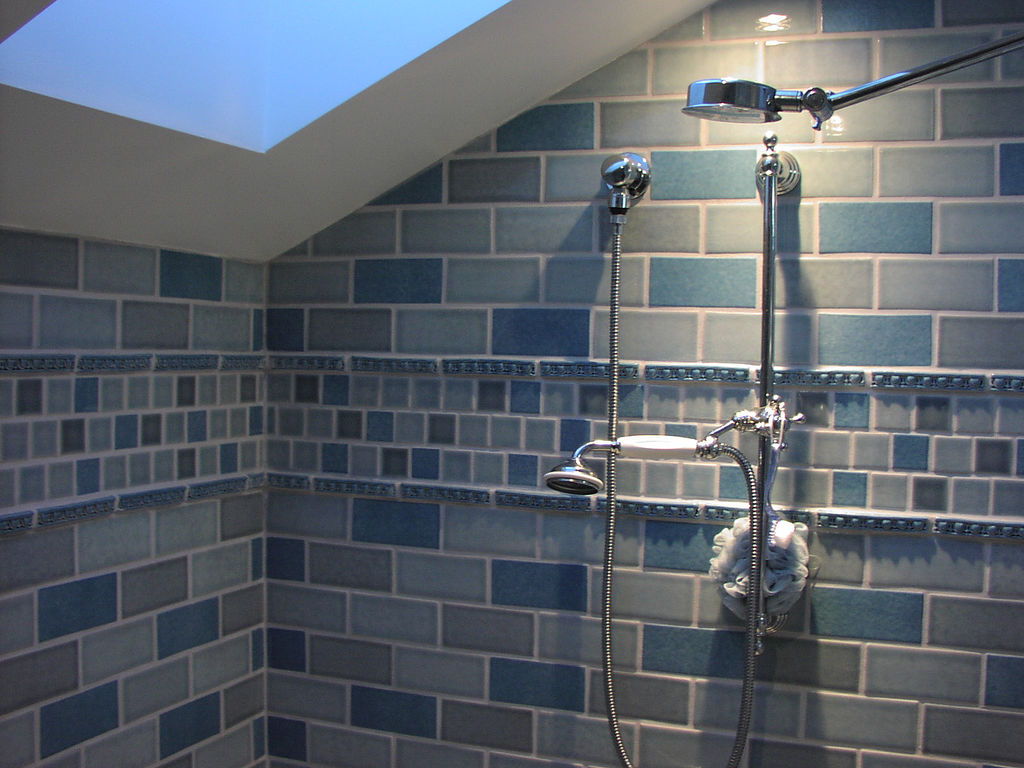
If you are in the process of remodeling your bathroom, this could be the perfect time to install a new showerhead, and/or new shower piping. The shower valve, as well as all the shower piping, need to be installed in the appropriate locations to link up to the original unit’s placement for proper fixture use. This is more easily done during remodeling since the wall will already be exposed.
The Shower Valve
The shower valve needs to be secured in the appropriate placement, so that the exposed section has the handle suspended in the middle. The valve is equipped with three ports, which generally contain female threads (if an experienced plumber installed them). Two of the ports are inlets, where hot and cold water pipes are attached. The third is an outlet, where the showerhead is attached.
Hot and Cold Water
To detect appropriate cold and hot water supply pipes that can be used to carry water to the shower, first avoid the half inch branch pipes. Instead, search for the three quarter inch main supply pipes. Shut the water off and using a pipe cutter, slice into the pipes and solder a three quarter by half inch tee into each pipe. You have just connected your hot and cold water pipes.
After you have constructed all fittings and pipes necessary, in order to pass the pipes through, it might be necessary to drill three quarter inch holes into the drain. After you've completed this rough install, the wall in back of the shower should contain the appropriate drain ends (of which there should be two), which extend no less than 12 inches off the floor.
Brace the Shower Valve
Next, a wood block can be placed in the wall frame in order to brace the shower valve. A cross piece consisting of a 2x4 wooden beam can do the trick; bracing the piping as needed, as well as keeping the pipes in place. Whatever size you need is determined by which valve you have. Refer to the directions that accompany the valve for specific questions regarding this part of the installation.
Prep the Valve
Prep the valve as necessary so that pipes can be properly soldered without being damaged. If the threaded ports on the valve are female, prepare three ½” opposite valve ports. To do this, solder a three inch piece as necessary for the job. Secure the adapter threads by wrapping plumbing tape around the threaded parts. Screw an adapter into each port, using a wrench to tighten it.
Fit lengths of half inch pipe with the correct fittings into the appropriately labeled valves. Both ends of the pipes will require half inch couplers, and it is likely that you will need ninety degree elbows in order to affix the units as well. First, screw in the male units dry to be sure everything fits. After everything fits correctly, then solder them.
To hook up the appropriate piping to the head of the shower, secure it to wooden block, or 2x4 cross piece, that should be affixed with said piping at the appropriate height. Fasten the detachable faucet with the uppermost half inch copper pipe, unless it is an attachment for the valve. Solder the pipe to the adapter, which is fixed to the valve, and to the ell.
Test the Water
Once you've completed the plumbing installation, turn the water on in order to diagnose any immediate issues. If you find no visible leaks, you may proceed to patch up, repair, and fill in everything. Once the drywall has been replaced and the shower stall material adhered, enjoy your new shower head and valve handle.
If any of the previously listed directions seem confusing or unclear, please don’t hesitate to contact our professional bathroom remodeling contractors here at Wisercosts. We’ll send out our best service professionals to install your brand new detachable showerhead with skill and ease.