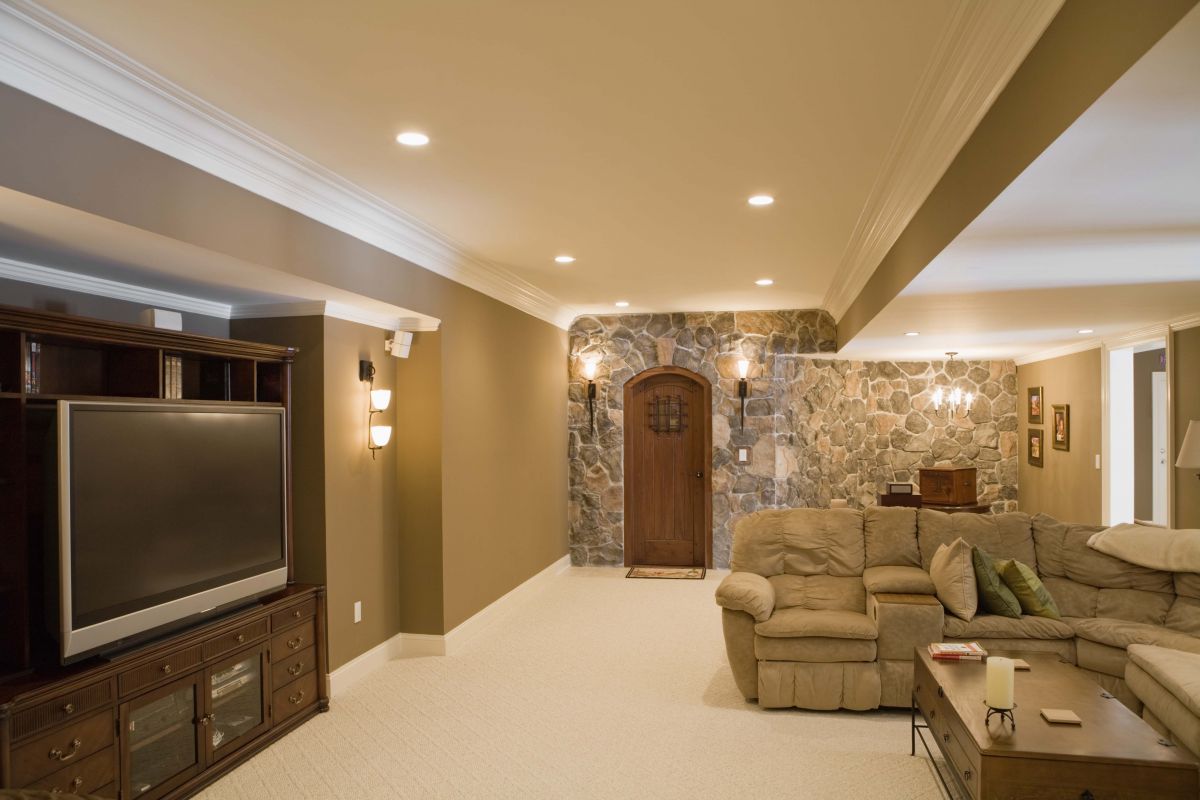
 Carpeting is a comfortable, affordable, customizable, and absolutely beautiful choice of flooring when installed and cared for correctly. For all these reasons, homeowners all over the country have made wall-to-wall carpeting one of the most popular forms of flooring on the market and so an enormous variety of styles, colors, patterns, and sizes are available today to cover older types of flooring materials and replace worn-out old carpeting as well. What’s more, by following these simple steps even the most inexperienced DIYer can complete their own carpet installation with results as high quality and reliable as those received from professional carpet installers.
Room Measurement
For any wall-to-wall carpet installation, the first step is to determine how much space is between the four walls. It may sound obvious but proper, perfectly precise measurements of the room are critical to having the carpet installation go smoothly. Generally speaking the largest carpets available are fifteen feet wide, so keep an eye on any rooms that demand larger size installations and plan on needing a seamed carpet installation to account for the excess space. While installation may be doable by the average homeowner, carpet seaming requires professional expertise to ensure dependable results.
Tack Strip Installation & Subfloor Installation
Align tack strips around the entire perimeter of the room with a small gap between the wall or baseboard and the positioning of the tack strip itself. Once placed in position nail down the tack strip with at least two nails per piece. Be especially careful around any corners, floor vents and doorways to keep the strips aligned and even. Once this is done lay down a cushioning subfloor pad and align it as closely as possible to the inside edge of the tack strip all around the room. This will generally require trimming of the padding and, as with the tack strip installation, precision is an absolute must since improperly trimmed subflooring will result in uneven portions of the final results.
Carpet Layout, Installation, & Tacking
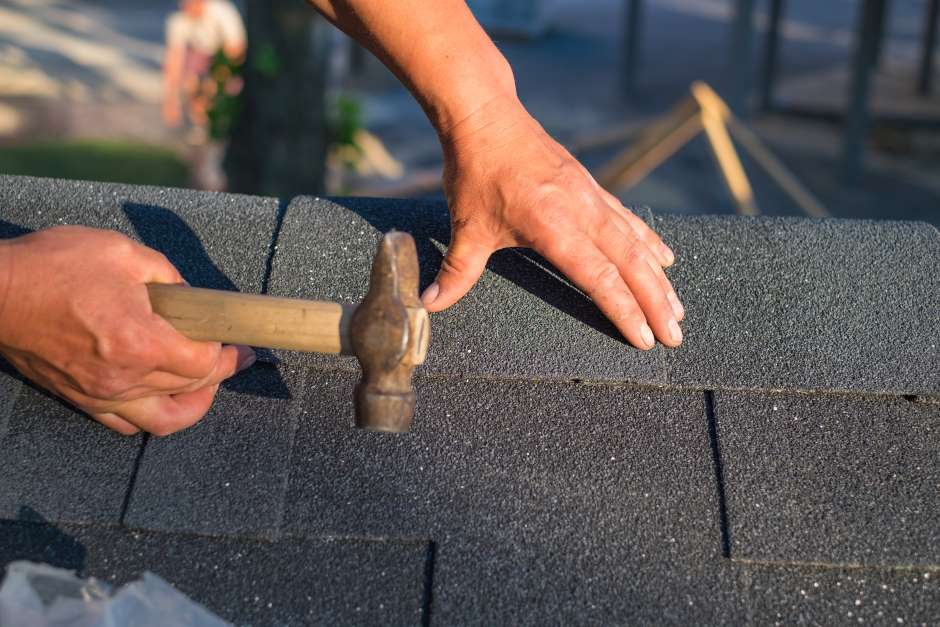
With your subfloor in place you’re set to lay out your new carpet! If you've purchased a carpet which isn't specifically cut to your room’s dimensions, this begins with a careful trimming of the carpet to account for the precise dimensions you measured earlier. Once you have a perfectly fitted carpet, begin nailing your carpet down along the perimeter of the room beginning in a back corner, starting near a closet is optimal. Nail wide-head nails through your carpet with a new nail being placed every five inches or so. Leaving that space between nails helps to allow flexibility later for carpet stretching without popping nails or damaging the carpet. After nailing around the entire perimeter of the room, carefully push down the very edge of the carpet into the space you left between the tack strip and the wall. This will then be tacked in place to provide extra security on top of the nails.
Stretching & Final Touches
Once your carpet is fully nailed and tacked, use a power stretcher (available for rental in hardware stores) to remove any wrinkles or lumps which may have appeared during the carpet laying process. Once you've removed all extra hills and valleys which may have appeared trim the extra carpet which is stretched out and retack the edges.
 Let a carpet installer give you an estimate on your project


